This isn’t your typical strawbana smoothie. The ingredients are a bit peculiar, but Corinne seems to have perfected the recipe, ensuring a creamy, smooth texture and blending of sweet and tangy flavors.
You could just blend up some strawberries and bananas with water, but we hope you give this bold smoothie a try (and like it as much as Corinne does)!
Frozen bananas are so versatile and easy to make; it’s difficult not to! This is especially a great idea when your bananas are beginning to ripen a little too much to eat! Freezing them will stop them from ripening and with preserve that sweet flavor.
Ingredients
bananas (preferably ripe)
resealable baggies
ehm…a freezer (preferably)
Directions
Peel bananas and break into thirds.
Place chunks in resealable bags.
Place bags in freezer; they should freeze in about 8 hours.
Take the out and enjoy or keep them in there for up to a few weeks and use when wanted!
These can be used in a multitude of recipes: blended into smoothies and puddings, dipped in chocolate, or eaten raw!
Here are some of our favorite recipes that use frozen bananas:
This delicious dessert or snack is a great way to add unsaturated fats to your diet.
Processed with VSCO with a6 preset
Consuming too much saturated fats or trans fats (which are fats processed to act like saturated fats) can increase risks of heart disease, weight gain, and bad cholesterol. This is sadly, not very hard to do, as many foods we eat today are high in these fats. You can check the nutrition labels to see how much of each fat there is. Here are some foods that are characteristically high in saturated fat:
butter
cream
cheese, milk (some higher than others depending on fat content; for example, skim milk can be fat free)
margarine
coconut/palm oil
meats (some higher than others)
This being said, it’s important to have some fat in the diet, especially for females. But it is best for these fats to be polyunsaturated and monounsaturated instead of saturated fats. These fats contain omega-3’s and omega-6’s.
It is advised to add some unsaturated fats to your diet, while reducing saturated fats as much as possible. These unsaturated fats are essential for bodily functions; increasing bone density, preventing amenorrhea, and boosting reproductive health.
So, after all of this, where do avocados stack up?
One serving of avocado contains about 3 grams of saturated fat and 8 grams unsaturated fat.
Just to put this into perspective, one serving of coconut oil has about 12 grams of saturated fat and 1.5 grams unsaturated.
So, if you want to add fats to your diet, the avocado is a good way to go. You’ll be getting added benefits from nutrients that help lower bad cholesterol and not to mention the extra vitamin E.
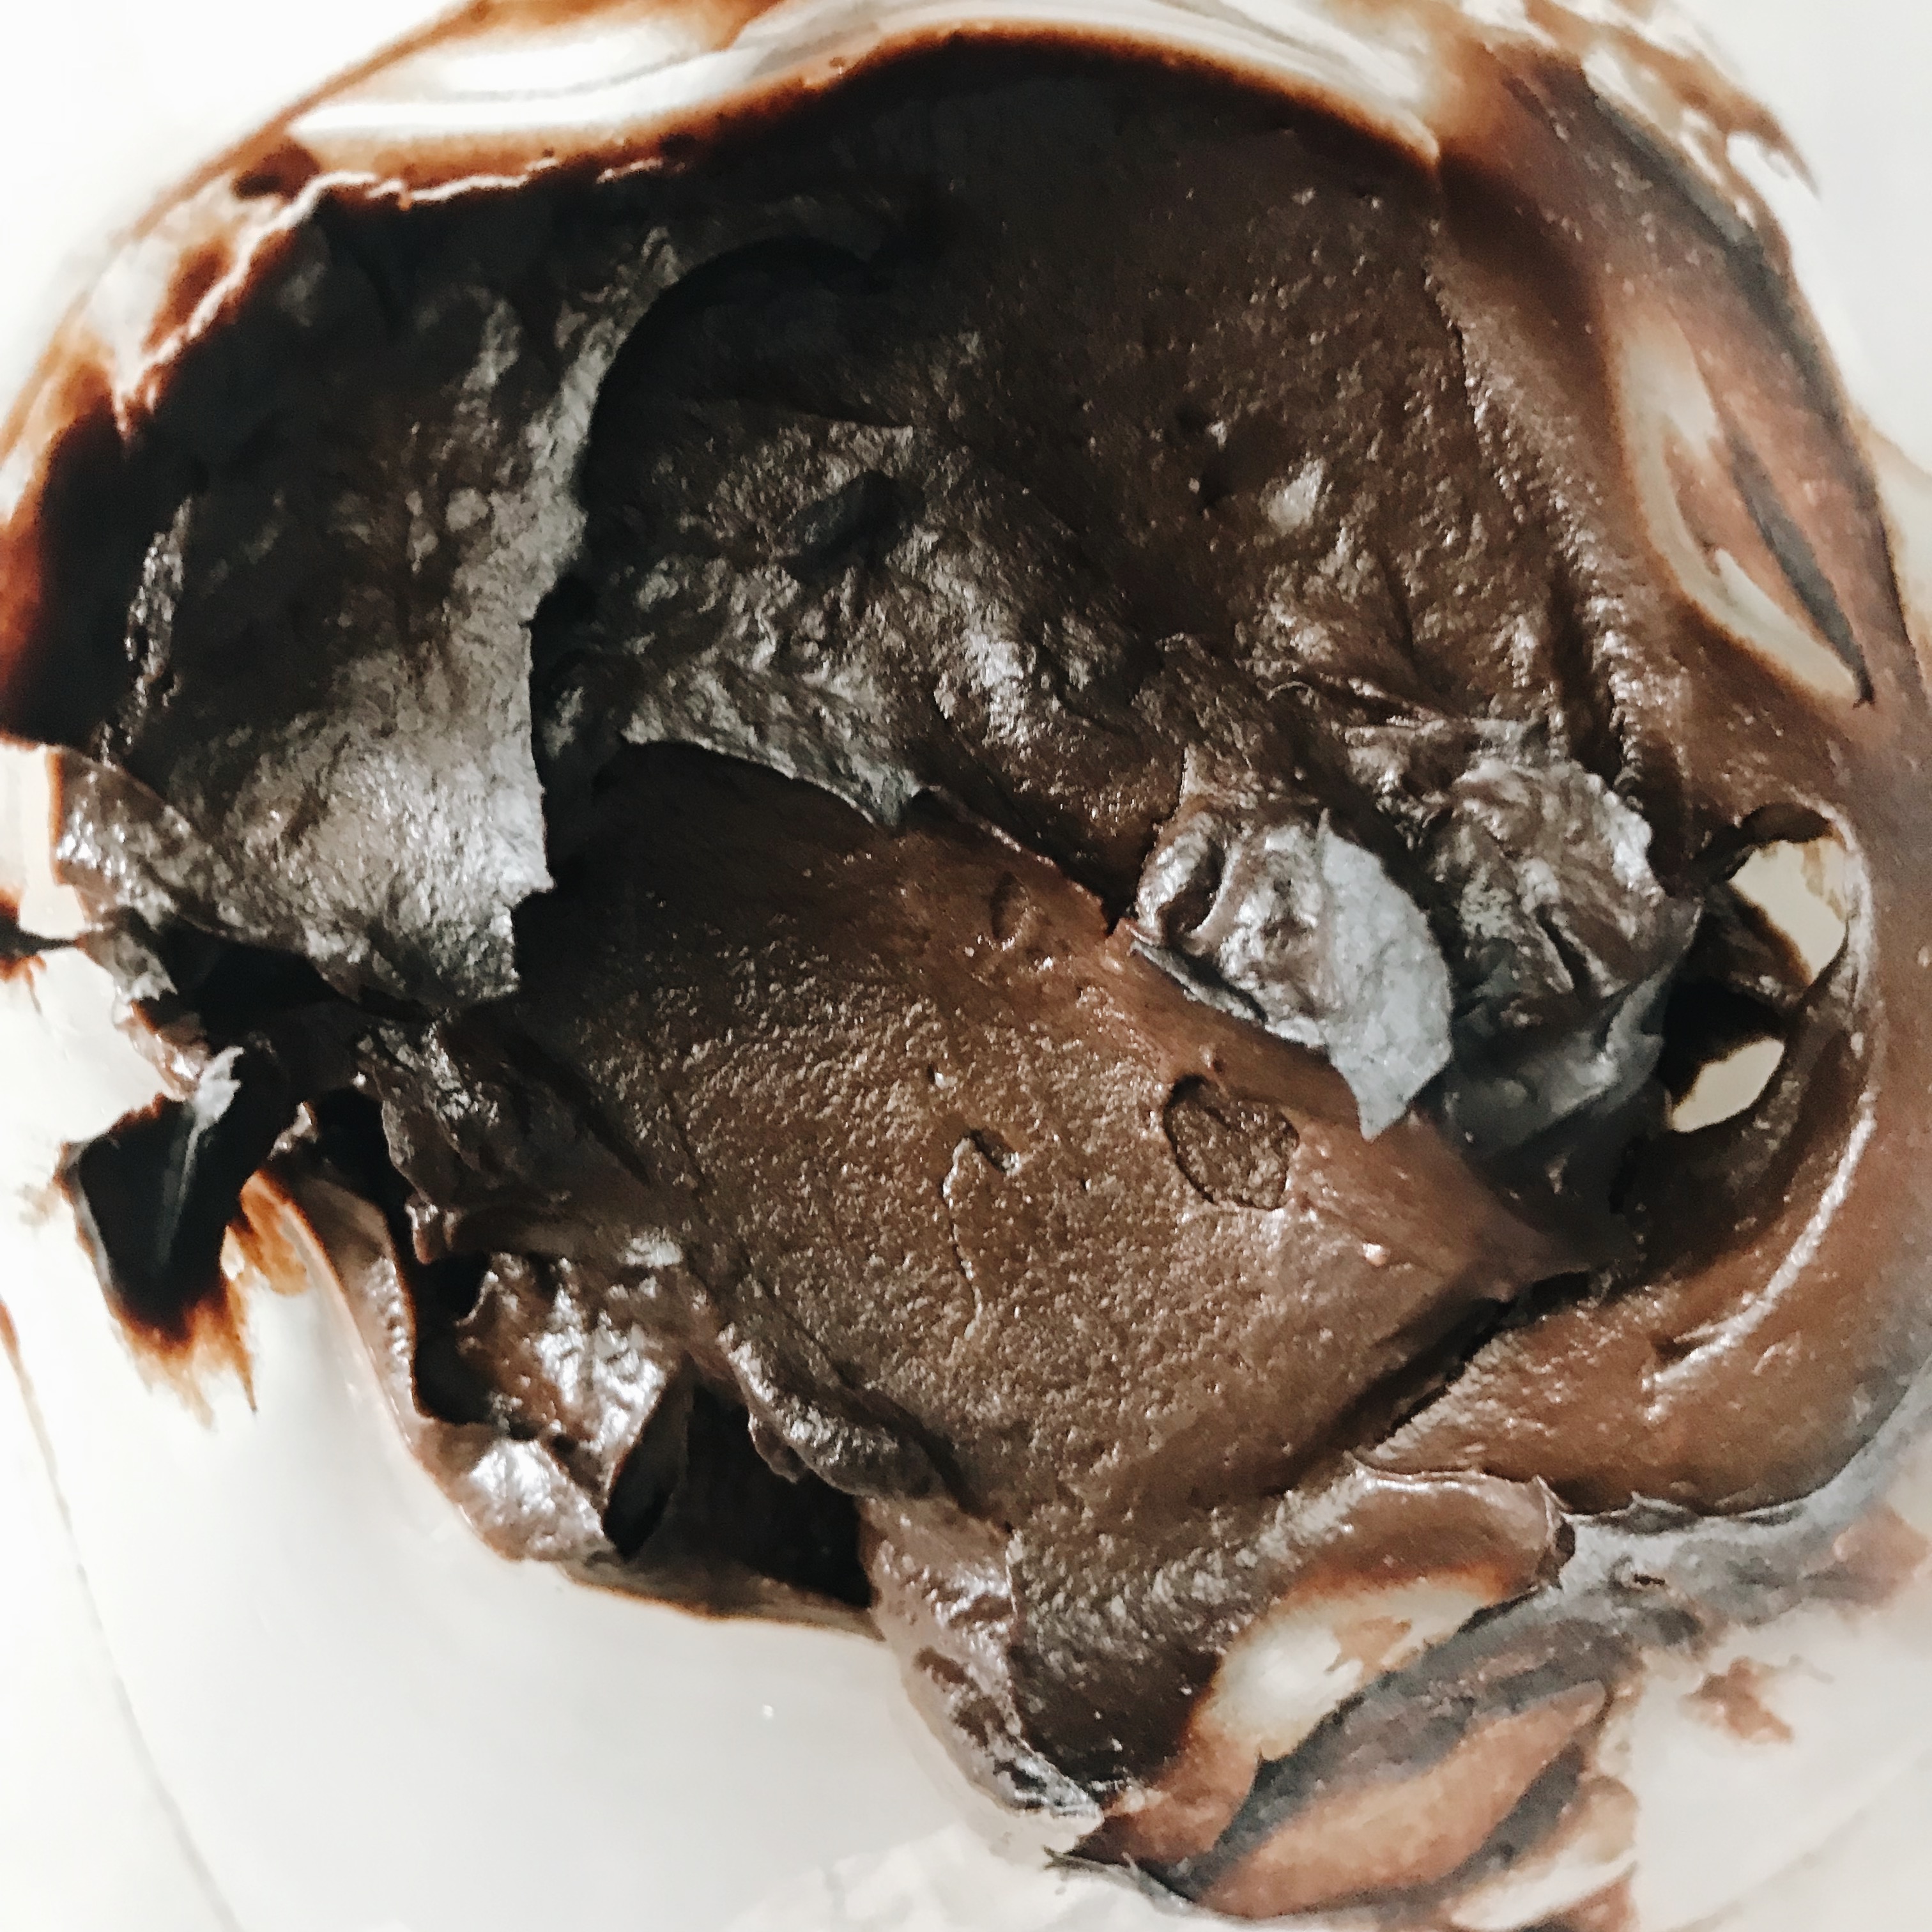
And if you’re not necessarily looking to add more fats to your diet, this pudding is a great treat. I’d say it’s a healthier option than ice cream, which is higher in saturated fat, with little unsaturated fats.
Ingredients
4 ripe avocados
3 tablespoons cocoa powder special dark
2 tablespoons honey
11/2 teaspoons of salt
vanilla or cinnamon (optional)
Directions
Peel and pit avocados. Be careful so you don’t cut your hand!
Put the avocados, cocoa powder, honey, salt, & vanilla and/or cinnamon (optional) in a Vitamix and blend on medium high until it is consistent throughout, about 3 minutes.
I didn’t believe people when they said that strawberries were good on savory salads. I honestly thought that people just garnished with their salads with berries for a photo’s sake. But a few weeks ago we I came home after a lunch barbecue and I wasn’t very hungry for dinner.
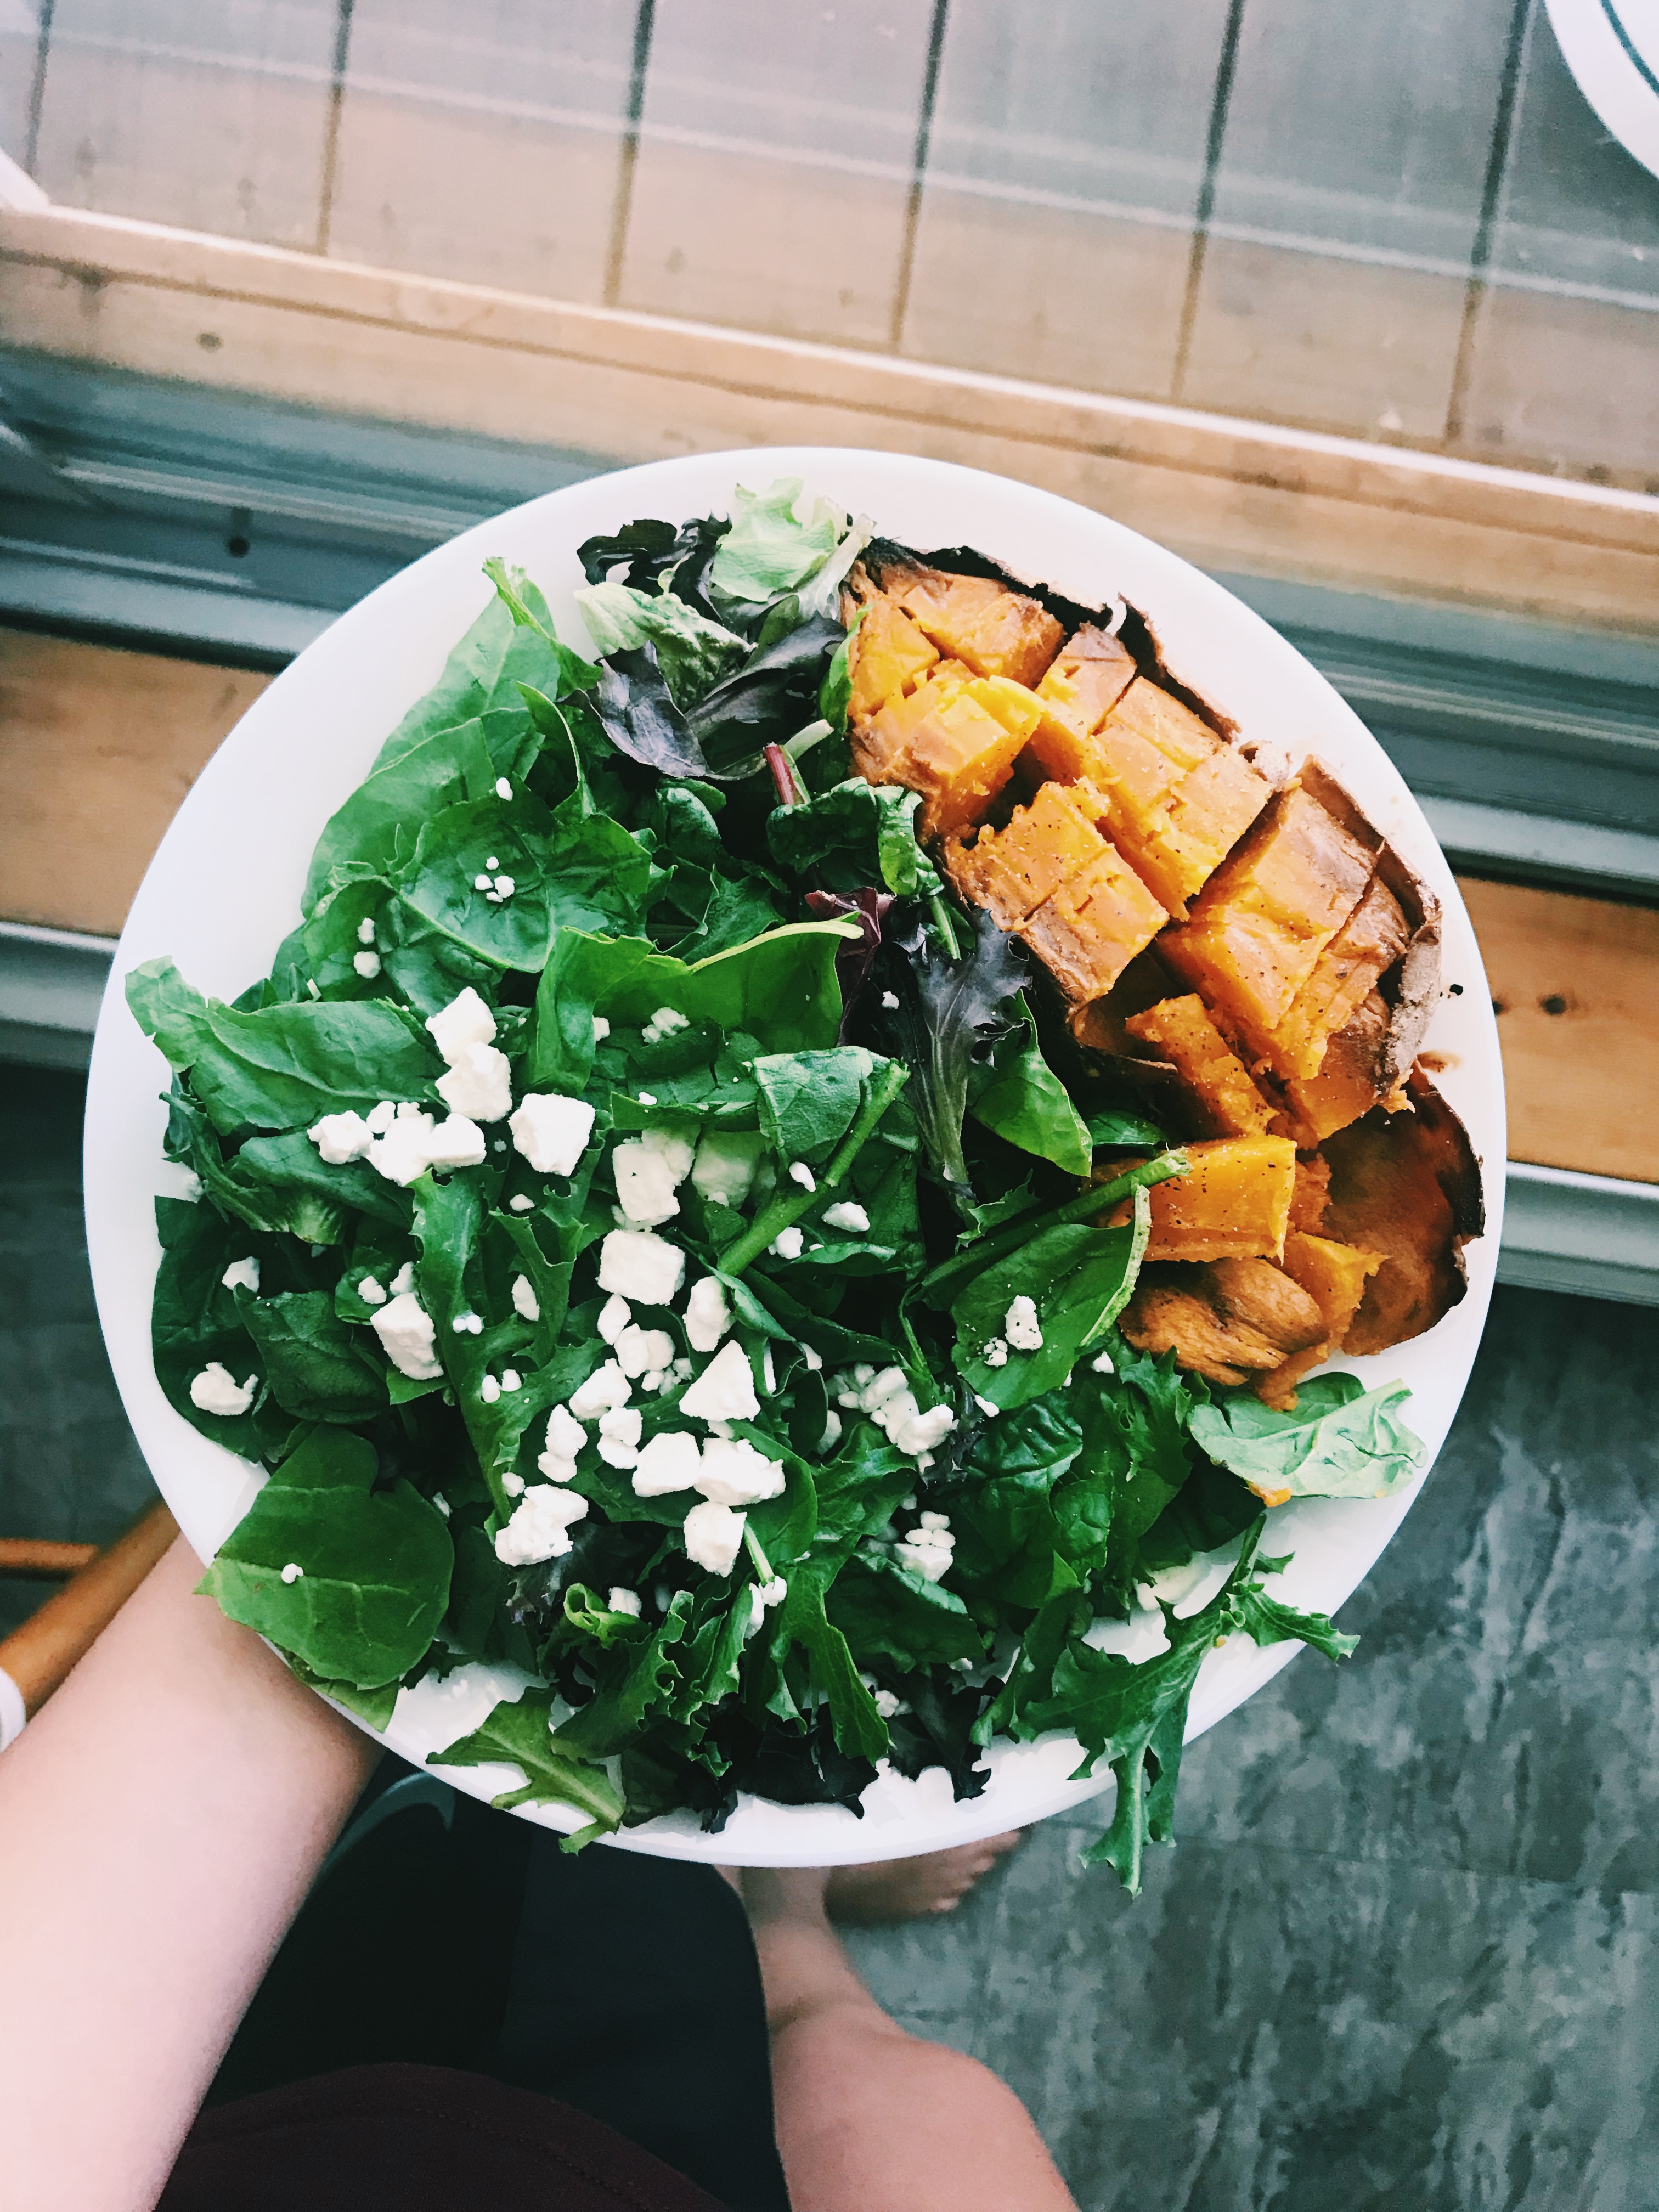
It’s times like these when I usually get experimental with my meals. So I mindlessly chopped up some fresh summer strawberries, put them on top of my greens, and drizzled some garlic vinaigrette.
The result was so delicious. Well, my expectations were very low, but the flavor combination blew me away! The tartness from the berries complimented the garlic in the dressing very well, and the dark leafy greens added a little bitterness that balanced the salad quite well.
There is not much protein in this dish, so we would not recommend it as a post-workout meal, and we suggest pairing it with something more substantial in carbs to make it a pre-workout meal. But you can add some protein such as walnuts or grilled chicken to make it a better post-workout option.
I also think it could be a great idea to add chopped red onions or cucumbers. They could pair well with the flavor profile while adding a variety of nutrients. This salad has healthy fats in its oil-based vinaigrette, which is good for brain and reproductive health. The greens also have Vitamins A, C, and K, as well as folate and potassium. Vitamin C helps with the absorption of iron, so the extra Vitamin C in strawberries might help your body better ingest the iron from dark leafy greens.
More information on nutrition in this salad can be found at this website.
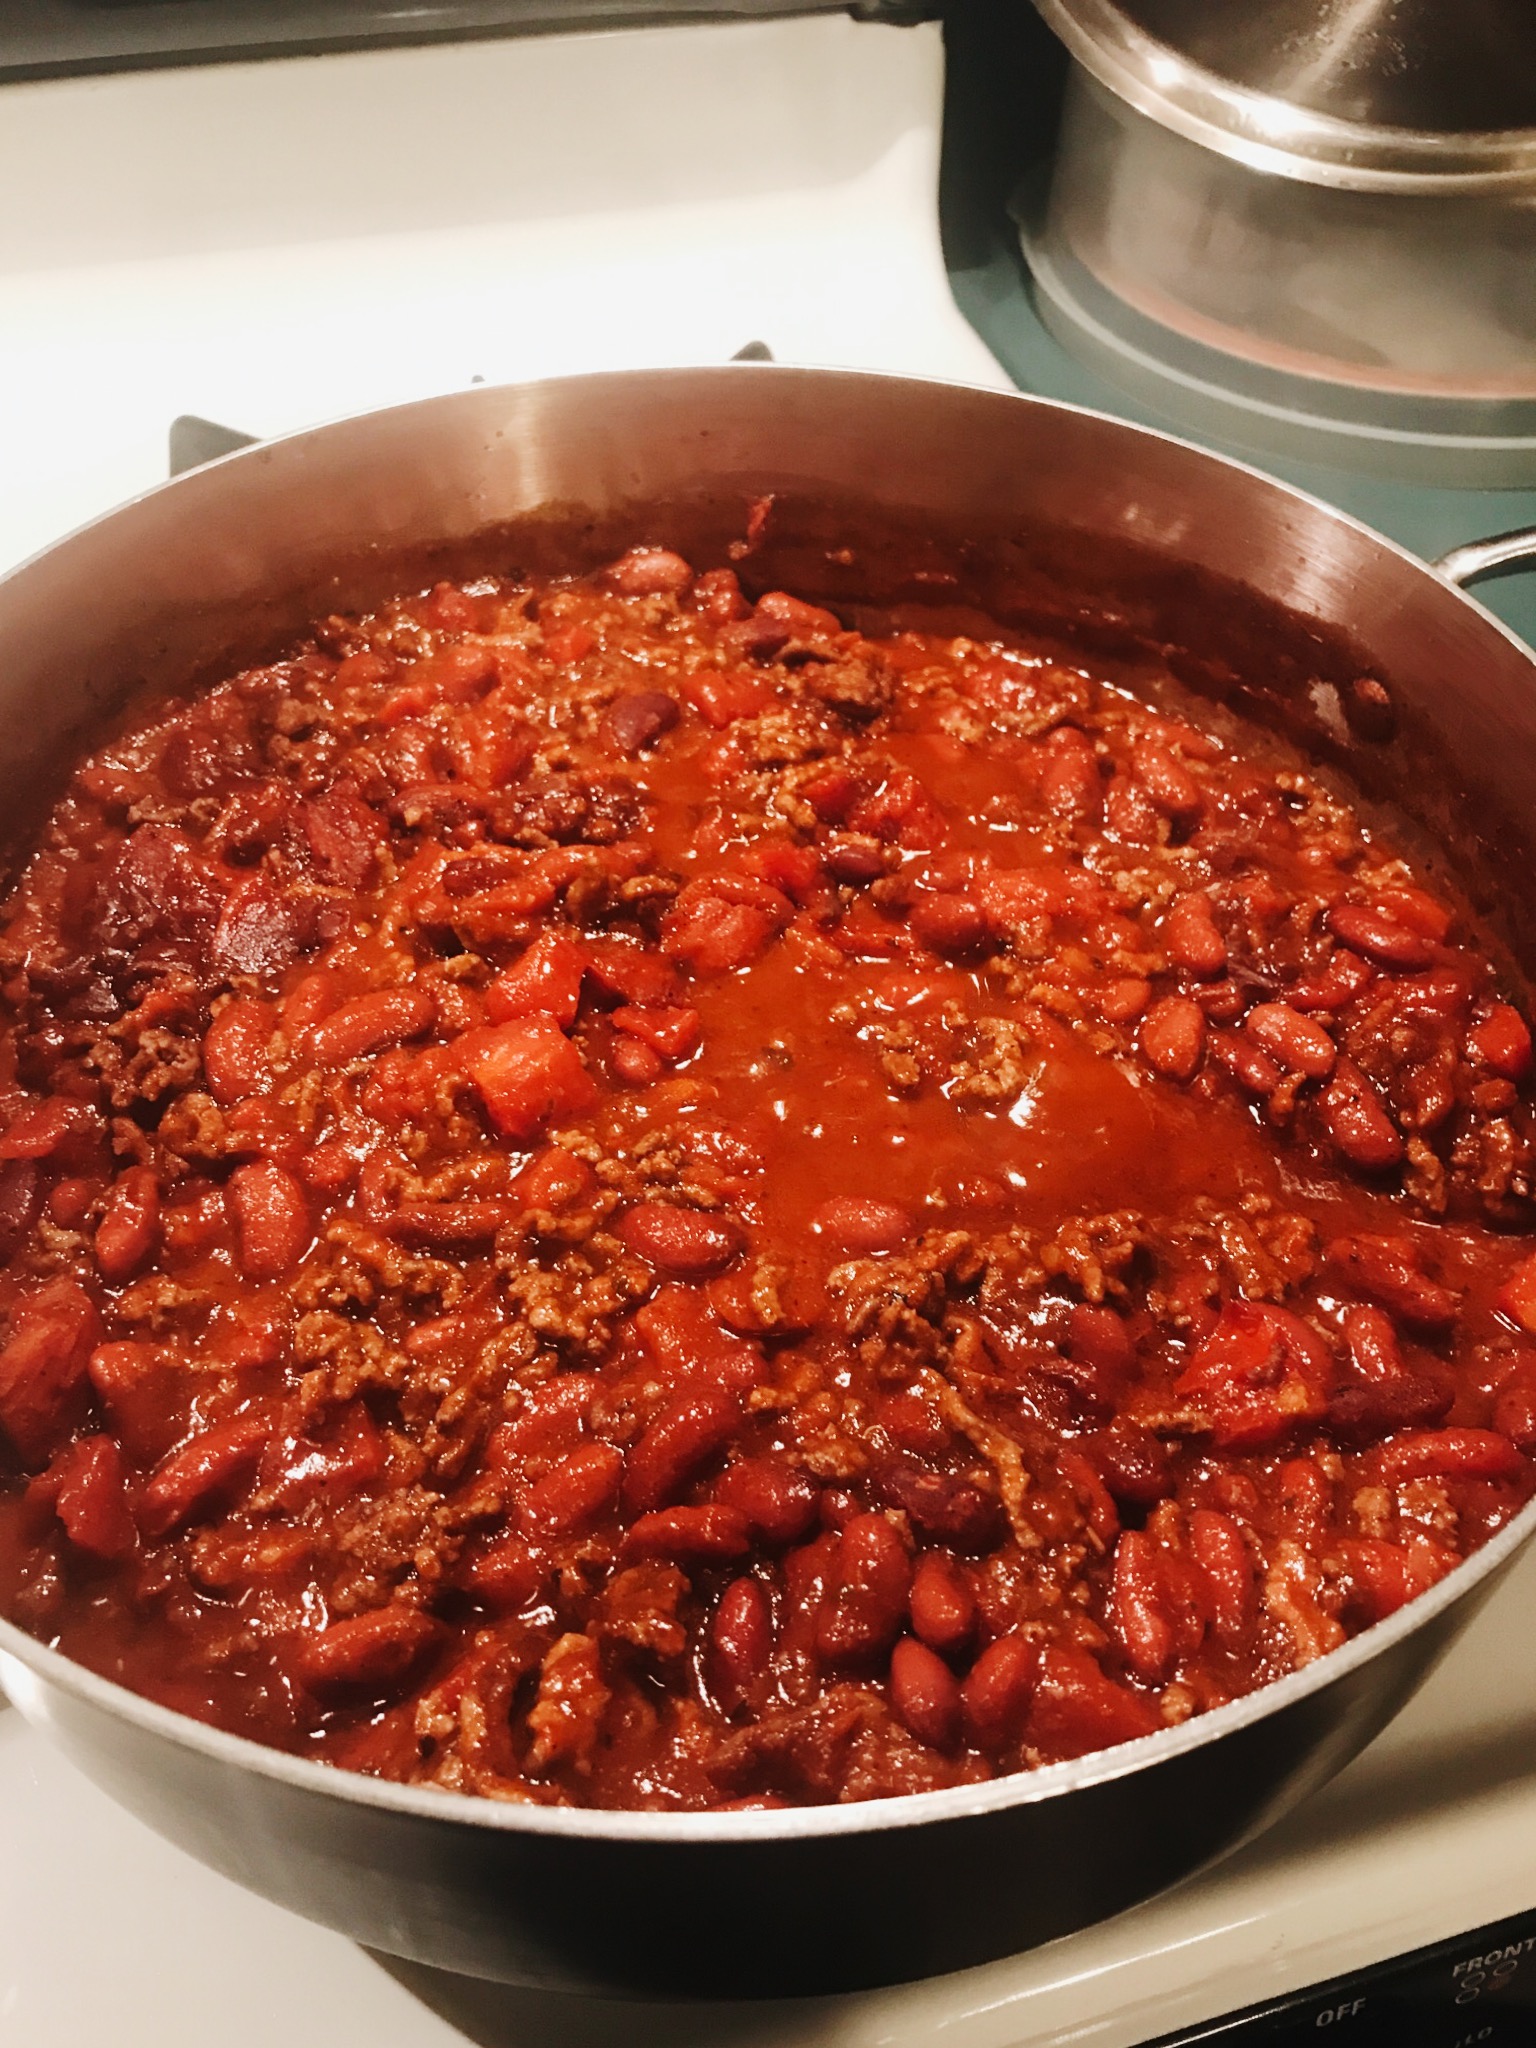
This classic chili is a family favorite. Perfect for Sunday game days in the fall (and although I don’t watch much football, we always have this chili for the Big Game). It’s also great post-race or post-long run or when you’re craving a hearty meal but don’t necessarily feel like spending a lot of time in the kitchen. It’s definitely on the sweeter side, so those who prefer it spicy could add hot spices/peppers. I think it would really compliment the sweetness.
Ingredients
ground beef (1 package)
chili seasoning packet
2 cans of dark red kidney beans
1 can diced tomatoes
2 jars of tomato sauce (tomato & basil)
3 tablespoons of brown sugar or to taste
Directions
Brown the ground beef by cooking it in a large, somewhat deep pan on high heat until it is cooked.
Add the chili powder and continue stirring until it is mixed throughout.
Turn the heat to medium and add the beans, tomatoes, & sauce.
Turn the heat to medium low and add brown sugar. At this point, you can taste and add as little or as much as you want for sweetness.
Keep the heat on low – medium low & simmer with the top on for up to 3 hours. Monitor to make sure the pan doesn’t burn.
You can cook it for 20 minutes, or up to 3 hours, but just know, the longer you cook it, the better the flavor becomes.
The added brown sugar gives the chili a sweeter taste and makes it delicious to enjoy on its own. You can also top it with shredded cheese and scoop with corn tortilla chips; or serve with Italian bread or corn bread.
We made this meal for our Community Cooking Class, and every time we serve it, people are surprised by its simplicity and low cost. Chili makes the best of canned goods, which makes it very economical. It’s a good end-of-the-week budget-stretcher or smart meal prep item that you can stock and refrigerate for the rest of the week.
Top with a little bit of salt & pepper (and feta optional).
Drizzle salad with vinaigrette and enjoy!
I have this salad for lunch during periods of hard-training and it helps me feel fueled and energized. I like to pair it with snacks. This is usually an orange (especially in the winter months when they’re in season and delicious) because the Vitamin C in the fruit helps my body better absorb the iron from the spinach and sweet potato. I also add carrots and hummus, peanut butter crackers, and a square of dark chocolate. And lots of water because this lunch is usually pre-workout!
Growing up in a multicultural household, I was often exposed to Czech and Tunisian cuisine by my grandmother. Whenever I asked for crepes, she made these delicious, sugar coated latkes that my siblings and I devoured. But a few years ago, I stumbled upon photos and videos of French crepes online and I was interested. I had had “crepes” all of my life, but had never made these French crepes I saw in the videos.
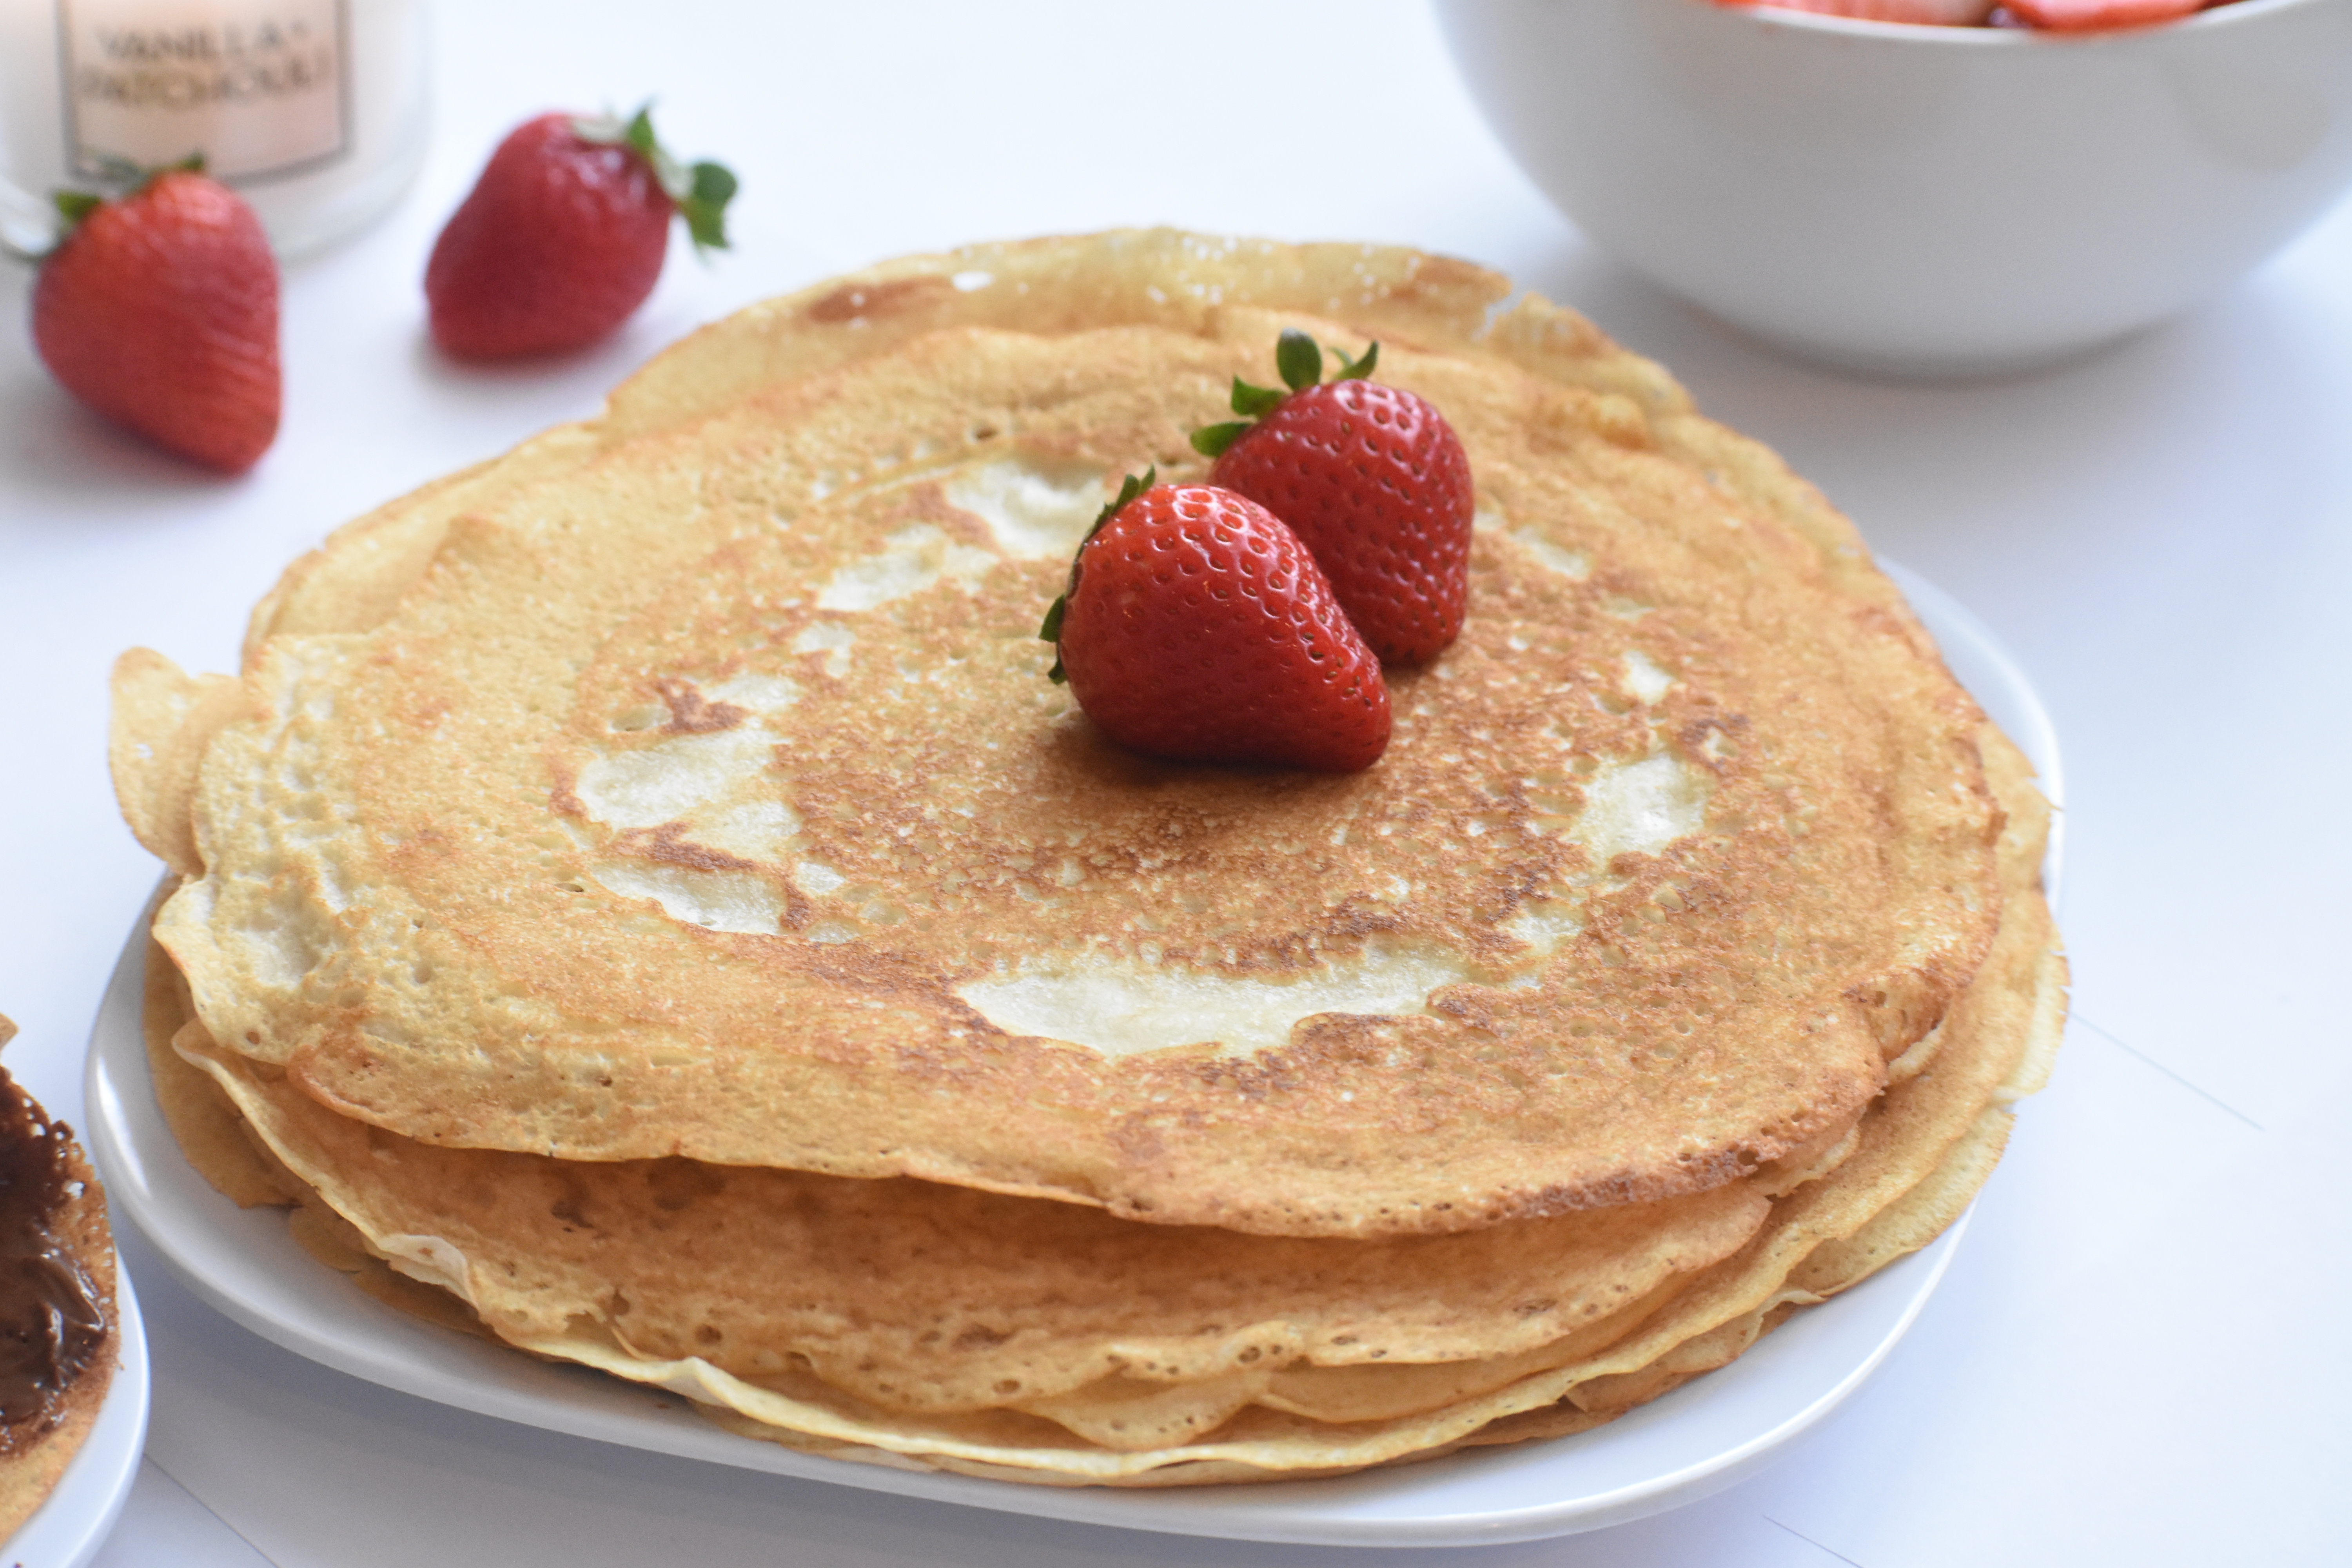
So I was inspired to try and make these French-style crepes. They were thin, crispy on the edges, and cooked in a pan – not fried in oil and coated in sugar like I was accustomed to.
The countless recipes I found online said that crepes were ultra difficult and that there were several finicky procedures to follow for them to come out right- blending the ingredients, refrigerating the batter, & following other various techniques.
I wondered: “Does it really need to be that complicated?”
I didn’t have much in my pantry except a pancake mix box, and I’ve watched my grandmother improvise countless meals without following a recipe. So I used the mix and adjusted the amount of water it called for on the box to make the batter looser to resemble crepe batter. I poured it on a hot, oiled pan and swirled it around like the professional chefs do. I waited, peeled it off, and flipped it.
And the result was delicious!
Fresh, crispy, crepes that looked just like the French crepes from videos! Could it have been that easy? I was so surprised! Honestly, I treated it like a bigger, flatter pancake!
I still make these today, and I sometimes add vanilla extract to the batter for an extra touch. But really, all you need is pancake mix and water! If the crepe doesn’t come out the first time around, your can simply adjust one of the three variables:
amount of water
amount of pancake mix
amount of oil on pan
and sometimes I add a touch of oil to the batter.
Then, once we make a stack large enough to fill the plates of my family members, we serve them with various toppings, in a sort of “build-your-own” station. Toppings include maple syrup, cinnamon, cocoa powder, chocolate chips, and Nutella hazelnut spread. We also serve fruits such as strawberries & bananas. My personal favorite is a touch of hazelnut spread and some slice strawberries, hence the article title, but- you can really customize them to your personal tastes. I think that is why they are universally enjoyed (and craved and shared by my family members around the table at breakfast).
We hope you can make and enjoy these crepes! But most of all, we hope you will skip these instructions and improvise, like we did! You’ll learn a lot more about the art of crepes and trust in your instinctual cooking / learning ability!
Welcome to our blog, here is a little about us; you can read more on the about us page.
Our names are Julia & Corinne and we are identical twins. We’re just two student-athletes trying to run fast and study hard, all while figuring out which foods make us feel best! Here we will share our favorite recipes & tips on how to eat a nutritious diet so you can also get the most from your meals!
Why?
To create an online collection of recipes so they are accessible for many
So we can share our nutrition tips with you
We want to learn from you, and your nutrition tips
That’s pretty much it! Most of our recipes are simple and use ingredients that are already in your pantry, or cheap to buy at stores because we understand that we sometimes want nutritious meals on a budget.